In this day and age, most Sussex work sites stress safety first. Whether from a business or personal standpoint, safety protocols are put in place to ensure worker safety is considered at all times.
A simple but effective safety tool is a tool tether. Though it might not look like much, it can wind up being one of your most valuable safety tools. Check out more about tool tethers below to find out all you need to know.
About Tool Tethering
Though some will head over to a vendor like RS immediately, it helps to know more about what it is and what it does. When working on an elevated surface, scaffolding being one of the most common, there is always the potential that a tool could fall. That simple act can have potentially devastating consequences.
A tool tether connects to the tool itself while being anchored to a belt or other anchor point on that person. It prevents tools from falling and causing damage below. It is a simple tool but one that has become essential on job sites around the world.

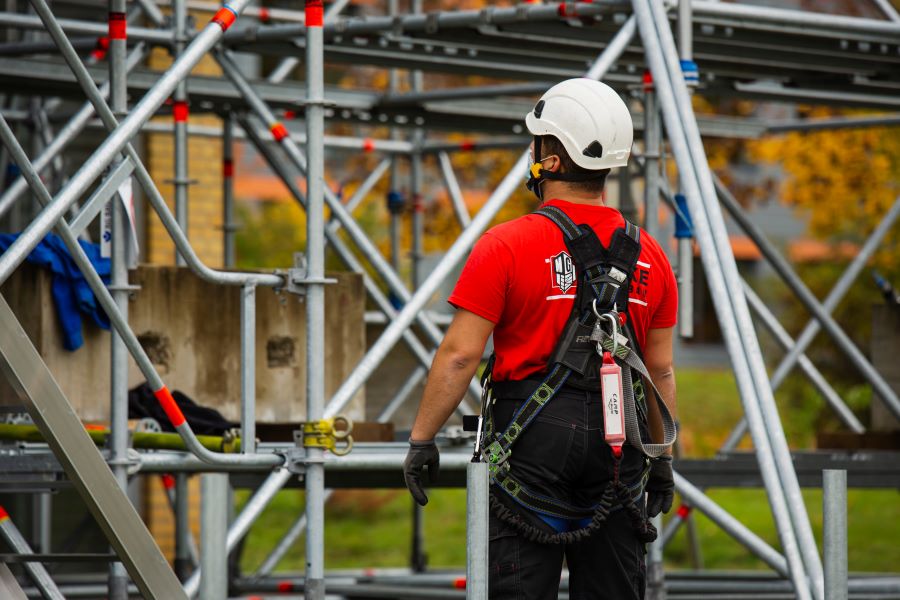
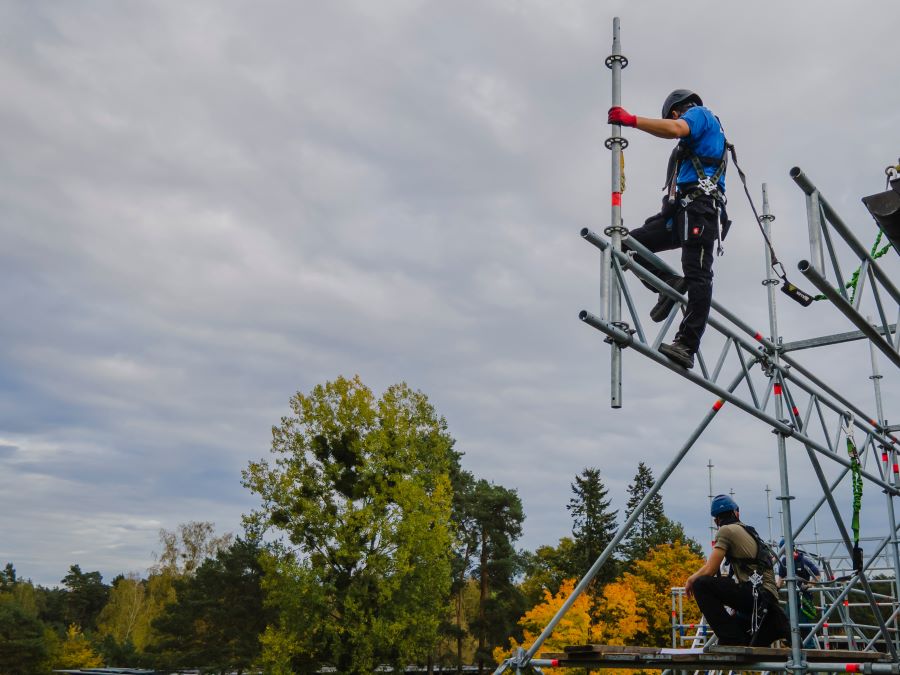
Scaffolders need more than a safety harness, a tool teether limits falling objects too
How to Use a Tool Tether
Thankfully, tool tethering is simple but effective. It can literally be as simple as one, two, three. There are three components to your average tool tether – the tether point, the lanyard, and the anchor point. Knowing this, we can effectively create a tether.
Tether Point
Start with your lanyard, which can be used for a number of different purposes. Some are made of wire, others of webbing, and others still of non-conductive materials. You will also find retractable, coiled, or bungee lanyards.
The tether point is where you will connect your tool to the lanyard itself. Most tool tethers use a hook system, which can connect around a ring on the tether point now on your tool. Find a length and type that works best for your needs.
Anchor Point
The other step is to create an anchor point. For some, that might be a belt on your person that has a metal D-ring to connect to. Others may tether to scaffolding if that is where they are working. Whatever the case, it needs to be a solid connection point.
For lighter tools, a belt or wristband is perfectly fine. Heavier items should be connected to a beam, rail, or other solid connection point. Overloading a tool tether can lead to it snapping, which defeats the purpose of having a tether in the first place.
Creating a Tool Tethering System
Before just buying a tool tether (or two or three), you need to have a plan. Sure, having an industry-specific tethering tool is great but make sure that it works specifically for your job site. Get specific so that you can be as prepared as possible.
With a plan in place, make sure that everyone is aware of them and how to use them. Promote that they are great for keeping falling objects to a minimum, protecting tools and workers in the process. Implement a short training program to show people how to use them and how strong they can be.
The second-to-last part of the process is to create a policy that outlines tethering requirements. Share it throughout the organization so that everyone is clear on what is expected and how to properly use this tool. Finally, roll it out with a trial. Maybe one or two people can use it and get used to doing so before ultimately rolling it out to the rest of the crew. In the end, tools, workers, and the business will be safer for it.


